Create a Flappy Bird Clone With Golang P3
Posted in golang tutorials -I hope that by trying removals and changing parameters, you have figured out what these lines of code do:
    op := &ebiten.DrawImageOptions{}
	op.GeoM.Translate(-float64(frameWidth)/2, -float64(frameHeight)/2)
	op.GeoM.Translate(screenWidth/2, screenHeight/2)
In case you haven’t, let’s quickly check the Cheatsheet for ebiten.DrawImageOptions
type DrawImageOptions struct {
    // GeoM is a geometry matrix to draw.
    // The default (zero) value is identify, which draws the image at (0, 0).
    GeoM GeoM

    // ColorM is a color matrix to draw.
    // The default (zero) value is identity, which doesn't change any color.
    ColorM ColorM

    // CompositeMode is a composite mode to draw.
    // The default (zero) value is regular alpha blending.
    CompositeMode CompositeMode

    // Filter is a type of texture filter.
    // The default (zero) value is FilterDefault.
    Filter Filter
}
And here is Cheatsheet for ebiten.GeoM
(*ebiten.GeoM).Translate

func (g *GeoM) Translate(tx, ty float64)

Translate translates the matrix by (tx, ty).
Here’s what happens: first we create an instance of ebiten.DrawImageOptions called op, then we call the GeoM attribute of op and apply function Translate on it twice. By default, the top-left of the image collides with the top-left of the screen. The first Translate() moves the image to the top-left direction exactly haft width and half height of the frame, so that the center of the frame collides with the top-left of the image. The second call moves the whole image to the exact center of the screen. After the two Translate(), the center of the running guy is placed at the center of the screen.
Now let’s try moving the running guy to the center point of the screen’s left side (where we tend to put our bird on later on). To do so, we will do exactly the current Translate() calls for the y location, while removes the Translate effects oGeoMn the x position.
    op.GeoM.Translate(0, -float64(frameHeight)/2)
	op.GeoM.Translate(0, screenHeight/2)
And indeed, we get what we want. The running man now runs at the middle of the left side of the screen.
One more thing I would like to know before we move away from the running guy and focus on our little bird is how to make the animation continues even when the windows is not on focus. According to the Cheatsheet, “The Update and the Draw are not called when the window is unfocused by default. This setting is configurable with SetRunnableOnUnfocused.”, but in nowhere in that Cheatsheet was the SetRunnableOnUnfocused was used, so I was a little bit curious how can that be set. Turned out it is just a function, similar to ebiten.SetWindowSize and ebiten.SetWindowTitle, so you can just call it as ebiten.SetRunnableOnUnfocused(true) in your main() func (you need to pass true since the func requires a bool parameter).
Now let’s start our FlappyBird game
I hope you are still here after that long introduction of
Ebitenin Go. To be exact, it is not the only way to make games in Go (from my research I did find at least two others), but remember the point of these tutorials is to show you how you can start off from scratch and make something nice out of it. This is the first time I knew aboutEbiten, and as mentioned, I’m not better than anyone in Go.
Since we’ve already mentioned all the details of the game in the Python version, we will go fast now and I will only stop to explain things that are particularly new or different in Go. In reality since I’ve made a FlappyBird game in Python, it is also much faster for me to remake it in Go.
First thing first, let’s create a program that renders only our background. The most noticable change we make is to stack several background-night.png and base.png together to make our game screen bigger (yes, I’m using the “night” version of the image this time). The number of elements in the stack can be adjusted by changing the bgNum const.
package main

import (
	_ "image/png"
	"log"
	"github.com/hajimehoshi/ebiten"
	"github.com/hajimehoshi/ebiten/ebitenutil"
)

const (
    bgWidth = 288
	bgHeight = 512
    bgNum = 4
    baseHeight = 112
	screenWidth  = bgWidth*bgNum
    screenHeight = bgHeight+baseHeight
)

var (
	background, base *ebiten.Image
)

type Game struct {
}

func (g *Game) Update(screen *ebiten.Image) error {
	return nil
}

func (g *Game) Draw(screen *ebiten.Image) {

    // op_bg is the Option for background image
	op_bg := &ebiten.DrawImageOptions{}

    // op_base is the Option for base image, which needs
    // to be translated to the foot of the background
	op_base := &ebiten.DrawImageOptions{}
    op_base.GeoM.Translate(0, bgHeight)

    // Draw both background and base images with lattitude 0
    screen.DrawImage(background, op_bg)
    screen.DrawImage(base, op_base)

    // Translate both options bgWidth in lattitude and redraw for bgNum-1 times.
    for i := 1; i < bgNum; i++ {
        op_bg.GeoM.Translate(bgWidth, 0)
        op_base.GeoM.Translate(bgWidth, 0)
        screen.DrawImage(background, op_bg)
        screen.DrawImage(base, op_base)
    }
}

func (g *Game) Layout(outsideWidth, outsideHeight int) (int, int) {
	return screenWidth, screenHeight
}

func main() {
    background, _, err = ebitenutil.NewImageFromFile("images/background-night.png", ebiten.FilterDefault)
	if err != nil {
		log.Fatal(err)
	}
	background = img
    base, _, err = ebitenutil.NewImageFromFile("images/base.png", ebiten.FilterDefault)
	if err != nil {
		log.Fatal(err)
	}

	ebiten.SetWindowSize(screenWidth, screenHeight)
	ebiten.SetWindowTitle("Flappy Bird")

    // Uncomment the following line if you want the game to continue running while not focused.
    //ebiten.SetRunnableOnUnfocused(true)

	if err := ebiten.RunGame(&Game{}); err != nil {
		log.Fatal(err)
	}
}
Right now, if you start the game with go run main.go, this is what you will get:
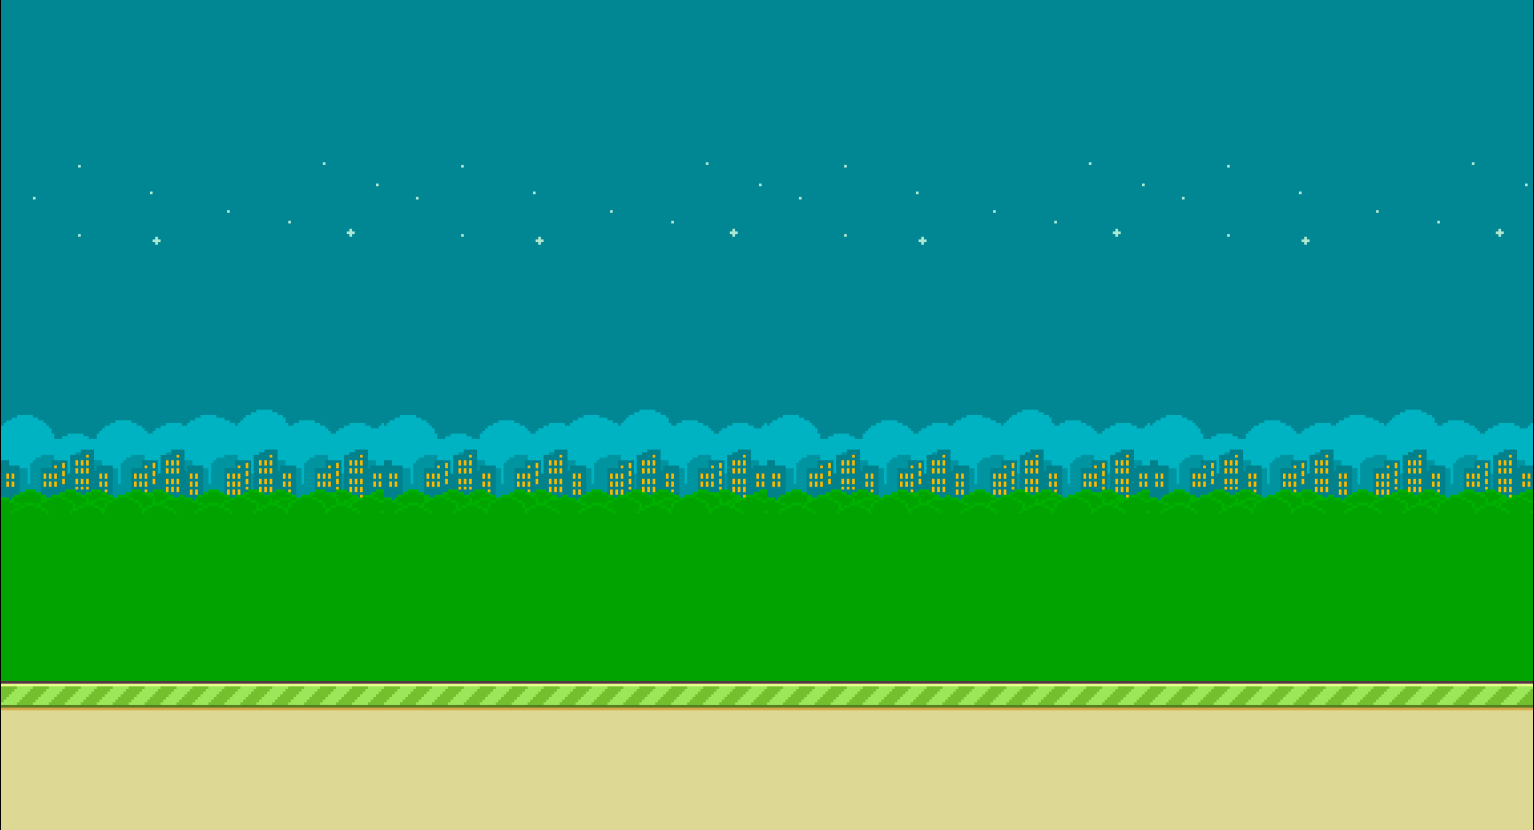
Not too bad, huh? Although what we did was naively stack the background image side-by-side with itself, the result image looks quite smooth. If it turns out to look not that good, you may want to open your favorite image editor and start making the stack yourself (in that case, you will only have to draw the image once). My favorite editor, btw, is Gimp: it’s free and quite powerful.
Now that we are (fairly) familiar with ebiten, we can start converting those classes we made in the Python version Go. Most of the logic should stay the same, so we get to practice writing Go code without caring too much about the game logic. Again, in Go there’s no concept of class, instead we will use struct, but that shouldn’t be too big an issue, I’m sure with some practice you will get the hang of it.
In the same directory of main.go, create a file called bird.go, with the following content:
package main

import (
	_ "image/png"
	"github.com/hajimehoshi/ebiten"
	"github.com/hajimehoshi/ebiten/ebitenutil"
)

type Bird struct {
    images [frameNum]*ebiten.Image
    initial_latitude float64
    latitude float64
    active int
    count int
    idx_increment int
}

func newBird() *Bird {
    bird := Bird{}
    bird_upflap, _, _ := ebitenutil.NewImageFromFile("images/yellowbird-upflap.png", ebiten.FilterDefault)
    bird.images[0] = bird_upflap
    bird_midflap, _, _ := ebitenutil.NewImageFromFile("images/yellowbird-midflap.png", ebiten.FilterDefault)
    bird.images[1] = bird_midflap
    bird_downflap, _, _ := ebitenutil.NewImageFromFile("images/yellowbird-downflap.png", ebiten.FilterDefault)
    bird.images[2] = bird_downflap
    bird.initial_latitude = float64(bgHeight)/2 - float64(birdHeight)/2
    bird.latitude = bird.initial_latitude
    bird.idx_increment = 1
    return &bird
}

func(bird *Bird) Draw(screen *ebiten.Image) {
    op := &ebiten.DrawImageOptions{}
    op.GeoM.Translate(0, bird.latitude)
    screen.DrawImage(bird.images[bird.active], op)
}

func(bird *Bird) Flap() {
    bird.count += bird.idx_increment
    bird.active = bird.count/5
    if (bird.count >= (frameNum-1)*5 || bird.count <= 0) {
        bird.idx_increment = -bird.idx_increment
    }
}
Let’s explain those lines briefly: In here we write the Bird struct, which is equivalent to the Bird class in our Python version, with only two functions: Draw and Flap. The newBird function here plays the role of a constructor (like __init__ in Python), since we can only define the types of elements in struct, not their initial values. Also note that all the Bird parameters were provided by reference, not by value (i.e. *Bird instead of Bird), it is to preserve the effects of the function on the object after that function ends. We’ll discuss this topic of pass by reference vs. pass by value in depth with a later post.
You may have also noticed that I added a logic to reduce the frequency of changing bird image (hence the speed of flapping) by adding a count element, which gets divided by 5 to determine what image to use. The logic, otherwise, is similar to its equivalent logic in the Python version.
Now, to make the bird appear in our game, there are a few things we need to change in the main.go:
- First and foremost, since we define
bird.goto be in packagemain, we don’t have to import it. - Second, as we used some constants:
frameNum,birdWidthandbirdHeightinbird.go, we should define them in theconst ():
    frameNum = 3
    birdHeight = 24
    birdWidth = 34
(the reason we define the const here instead of in bird.go is for unification. We may still use these const in other parts of the game).
- Last, but not least, is to have an instance of the
Birdstruct in our game:
var (
    ...
    bird *Bird
)

func (g *Game) Update(screen *ebiten.Image) error {
    bird.Flap()
	return nil
}

func (g *Game) Draw(screen *ebiten.Image) {

    ...
    bird.Draw(screen)
    }
}

func main() {
    bird = newBird()
    ...
Here is the result:

So, that’s it for today. Let’s make the same changes for other elements of the game next time. See you then!